We got a great idea!
Yes! We are going to paint the door just like the control! Exactly what you would have done? I know.
I had recently gotten down the original Nintendo out of the attic so that I could kick D's ass in some Dr. Mario.
Off to Lowe's we went with the Nintendo controller in hand to get the EXACT colors needed in paint.
Step 1 - Paint door base color of remote.
Step 2 - Measure the door and the remote to find the ratio so that we can have the exact dimensions. (what nerds) Then tape off all the areas.
Step 3 - Paint the dark gray center first.
Step 4 - After dark gray has dried. Cover dark gray with newspaper and paint the black.
So we are down to letters and buttons. No big deal right? OMG what a pita
Step fail - We tried making stencils and painting on the letters
and that looked awful so we scrubbed it off before the paint dried.
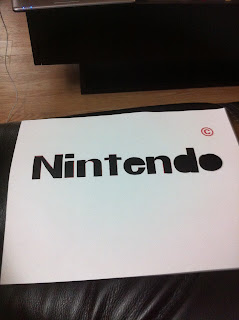
Step 5 - Print words and buttons on paper in the correct color. Cut them out and mod podge those suckers on!
Step 6 - Clear coat.
To be continued....


